19Sep
FRPは、DIYで簡単に強度のある補修ができます。
いくらでもとは言いませんが、割れだけでなくある程度の欠損も成型する事が可能。
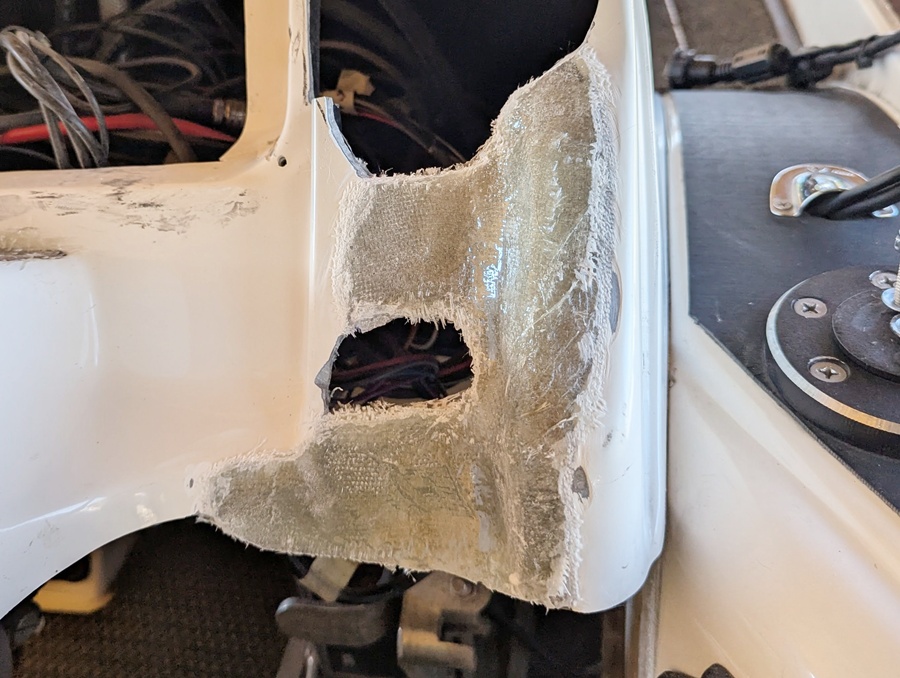
というわけで今回は、トライトンのコンソールを補修していきます。
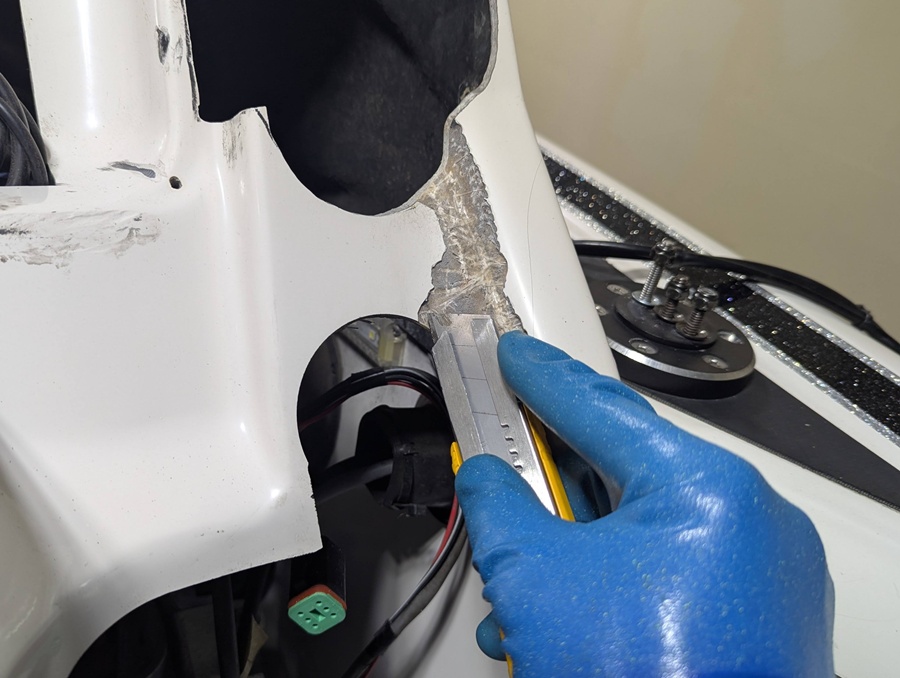
まずはカッターで割れたゲルコートを粗く剥がします。
FRP is great for strong DIY repairs.
You can fix not just cracks but also missing pieces by molding new material.
This time, I’m repairing the console on my Triton boat.
First, I’ll use a cutter to roughly remove the cracked gelcoat.
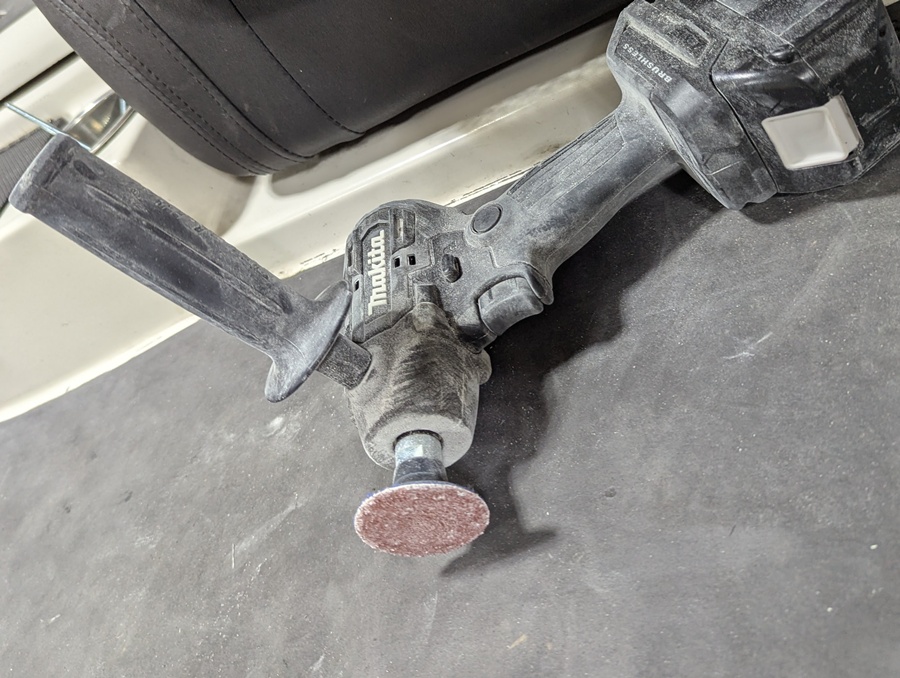
次に、サンダーやグラインダーで表面のゲルコートとその下の黒い塗装?を剥がします。
FRPを貼る面はしっかり除去しないと、補修FRPの接着が弱くなってしまうので注意。
裏側にも貼る場合は、そちらもきちんと剥離しておきましょう。
あと粉塵マスクと手袋は必須です!
Next, use a sander or grinder to remove the gelcoat and the black paint underneath.
It’s crucial to thoroughly remove the surface layer where you plan to apply the new FRP, otherwise the bond will be weak.
If you’re repairing the back side as well, make sure to strip that surface clean too.
And remember: a dust mask and gloves are a must!
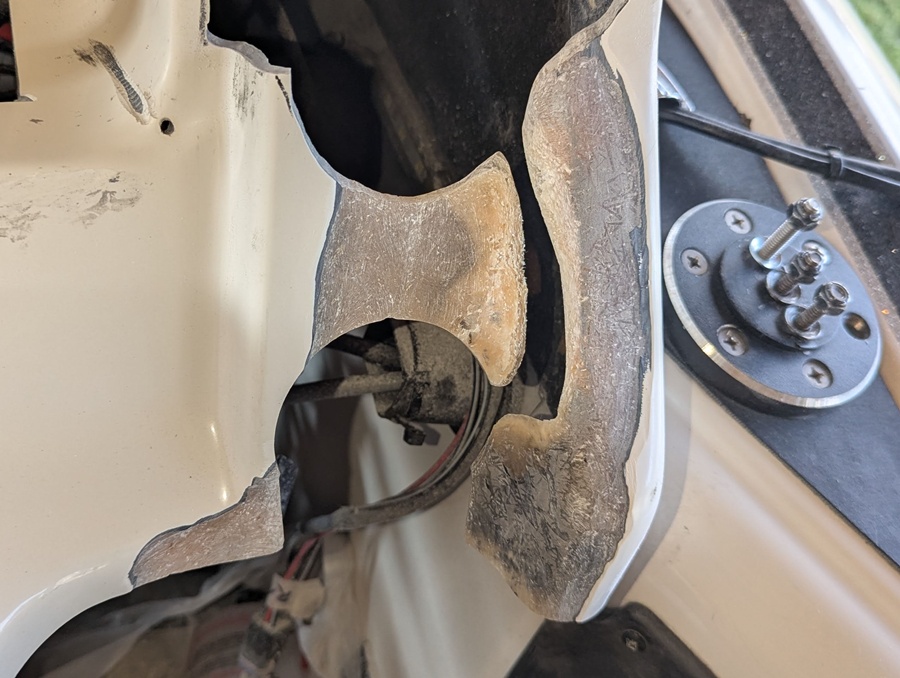
FRPの割れているラインは、ふにゃにゃになってしまっている部分をすべて削り落とすのも重要。
隙間が空くと不安になるかもしれませんが、ある程度の欠損は成型できるので大丈夫です。
全て済んだら、アセトンかアルコールで脱脂しておくのも忘れずに。
When the FRP is cracked, it’s important to grind away any weakened material along the crack line.
Don’t worry if this leaves a gap—you can easily mold new FRP to fill in a missing section.
Once you’re done, be sure to clean the area with acetone or alcohol.
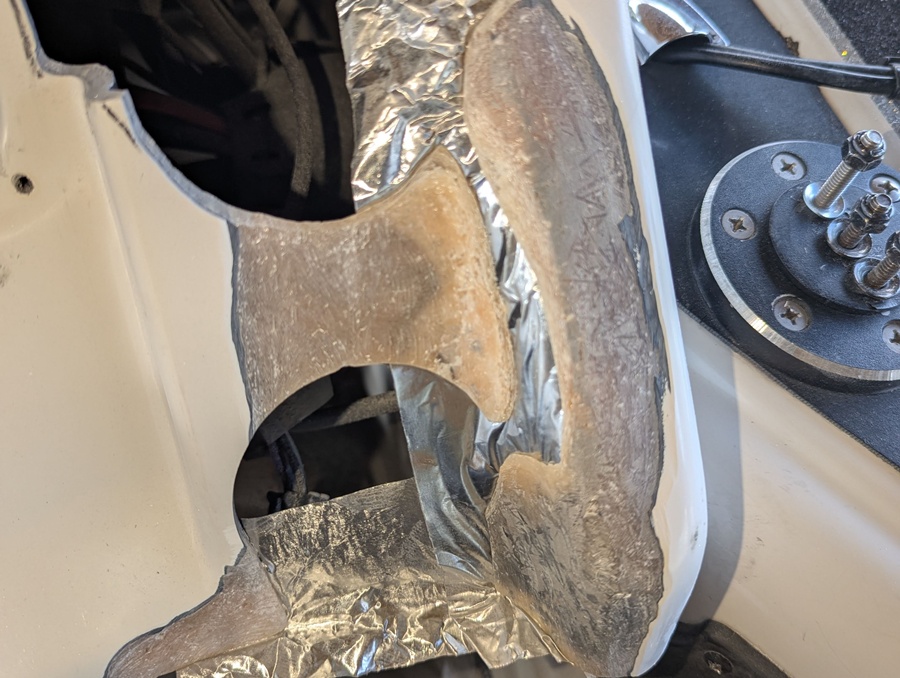
その上で、欠損部の裏側に丈夫なアルミテープを貼っていきます。
このテープを”型”として補修用FRPを貼っていきますので、範囲や形をよく考えて貼りましょう。
Next, apply a sturdy aluminum tape to the back side of the missing section.
This tape will act as a mold for the repair, so carefully consider the shape and area you need to cover before you stick it on.
FRPの補修材は色々ありますが、ボートには強度と接着性・耐水性が高いエポキシ樹脂が良いようです。
車のバンパーなどで一般的な不飽和ポリエステル樹脂より高いですが、ここは性能を優先することに。
ちなみにレジンやガラスマット等が一式揃ったキットを買うと簡単です。
For boat repairs, epoxy resin is a good choice because of its superior strength, adhesion, and water resistance.
It’s more expensive than the unsaturated polyester resin commonly used for car bumpers, but I think the performance is worth the cost.
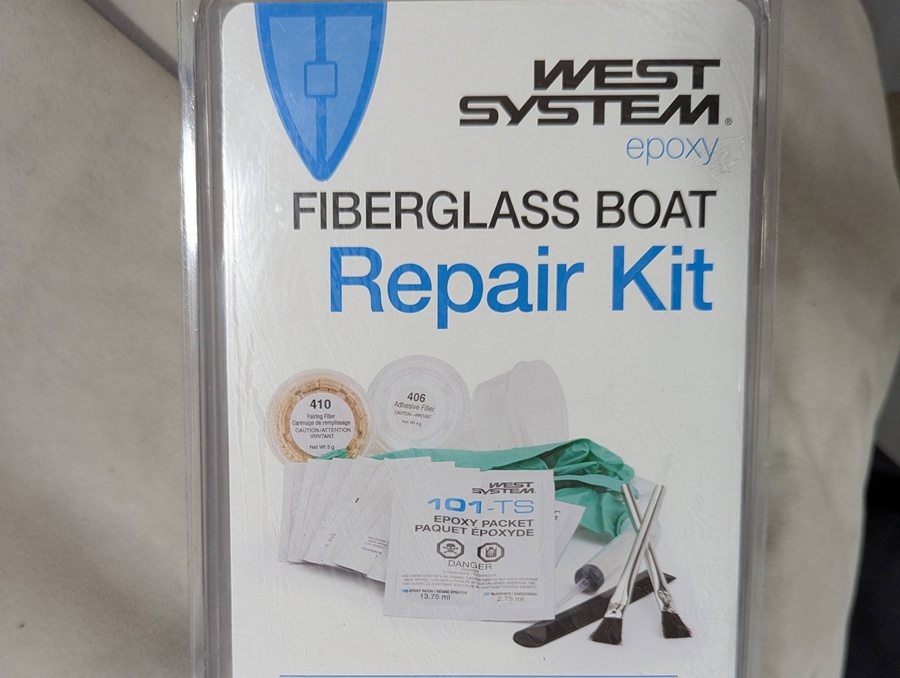 (日本で売られているものだと、これ↓などはエポキシ系のようです)

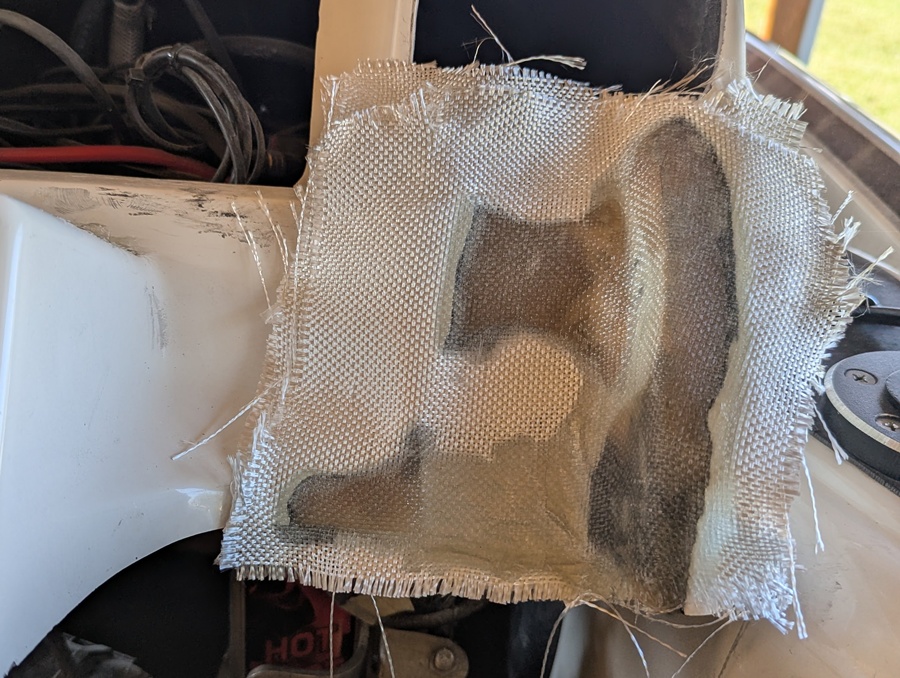
レジンに硬化剤を指定された割合で加え、1分ほどしっかりとかき混ぜます。
接着面に刷毛で塗り込んだらガラスマットを貼り、その上からもたっぷりとレジンを上塗りします。
10~15分ほどで乾いてきますので、手早く作業を進めましょう。
Mix the hardener into the resin at the specified ratio and stir thoroughly for about one minute.
Then, apply the mixture to the bonding surface with a brush.
Lay the fiberglass mat over the resin and apply another generous coat on top.
The mixture will start to dry in about 10-15 minutes, so work quickly.
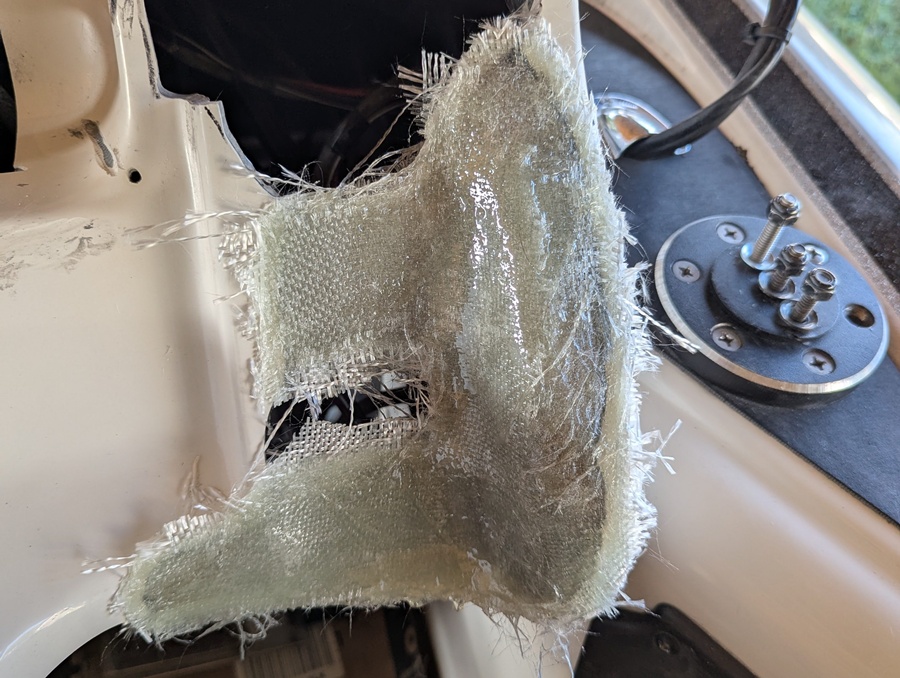
一度に貼れるのは3層くらいまでなので、生乾きのうちにさらに3層加えて6層を貼りました。
さらにアルミテープを剥がして裏側にも6層、計12層とやり過ぎなくらい積層。
1日かけて完全に乾かすと、新品より丈夫なくらいガッチガチに強くなりました(笑)。
You can apply about 3 layers at a time.
While the resin was still tacky, I added another 3 layers for a total of 6.
Then, I peeled off the aluminum tape and applied 6 more layers to the back, making a total of 12.
After letting it dry completely for a full day, the repair became incredibly strong, even tougher than the original!
ここはカバーに隠れて見えなくなる部分なので、周りを簡単に整えて作業終了。
ボートの表面であれば、さらにパテで整形してから表面にゲルコートを塗ることになります。
面倒ですが難しくはないので、DIYで挑戦してみるのも良いと思います!
Since this section will be hidden by a cover, I just tidied up the edges and finished the job.
If this were a visible part of the boat, you would need to smooth the surface with putty before applying a final layer of gelcoat.
It’s a bit of work, but it’s not difficult, so I highly recommend trying this DIY project yourself!
※ぜひFacebookページへのいいね!& twitter・Instagramのフォローをよろしくお願いします。
関連記事
-

:[D] 宮崎友輔のバス釣りレッスン101スペシャル・バスボート編
2021.04.03
-

[B.A.S.S.Nationクオリファイアー第3戦ミシシッピ・リバーDay1] 薄氷の56位スタート
2024.05.09
-

10年使い続けたいベイトリール
2023.11.04
-

実は使える!?ホッパープロッパー”90″
2025.08.17
コメント
この記事へのトラックバックはありません。

この記事へのコメントはありません。