13Sep
ジグヘッドにワイヤーガードを付ける際、簡単で抜けにくくするコツをシェアします。
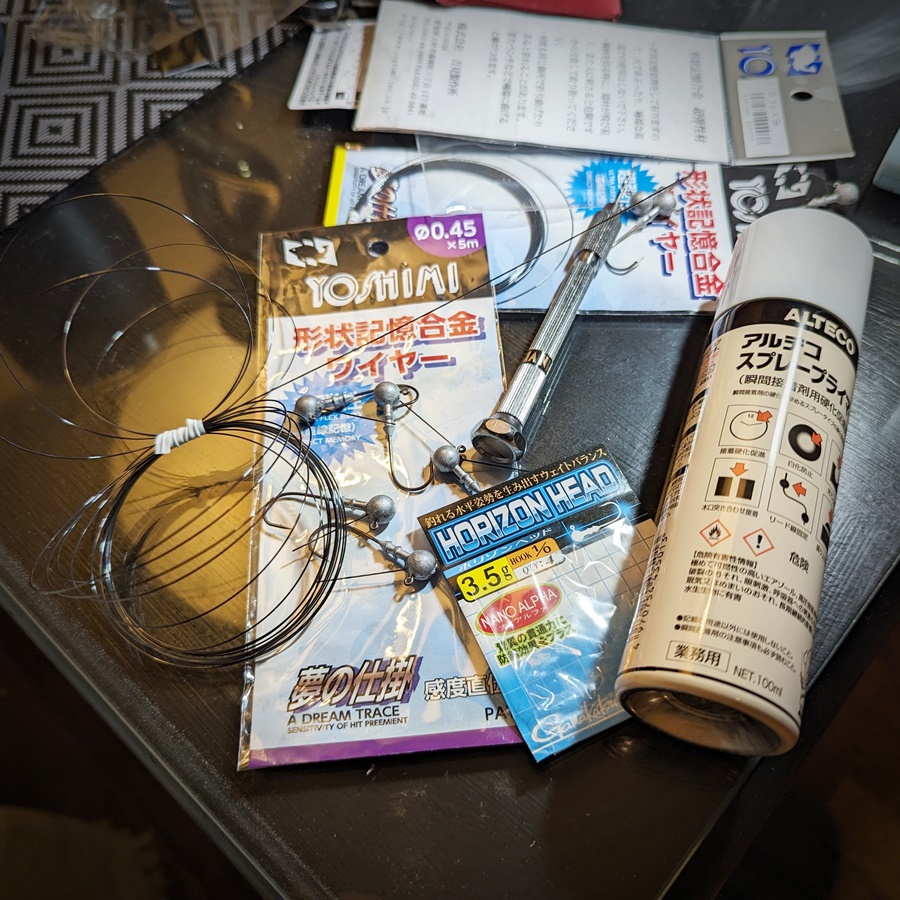
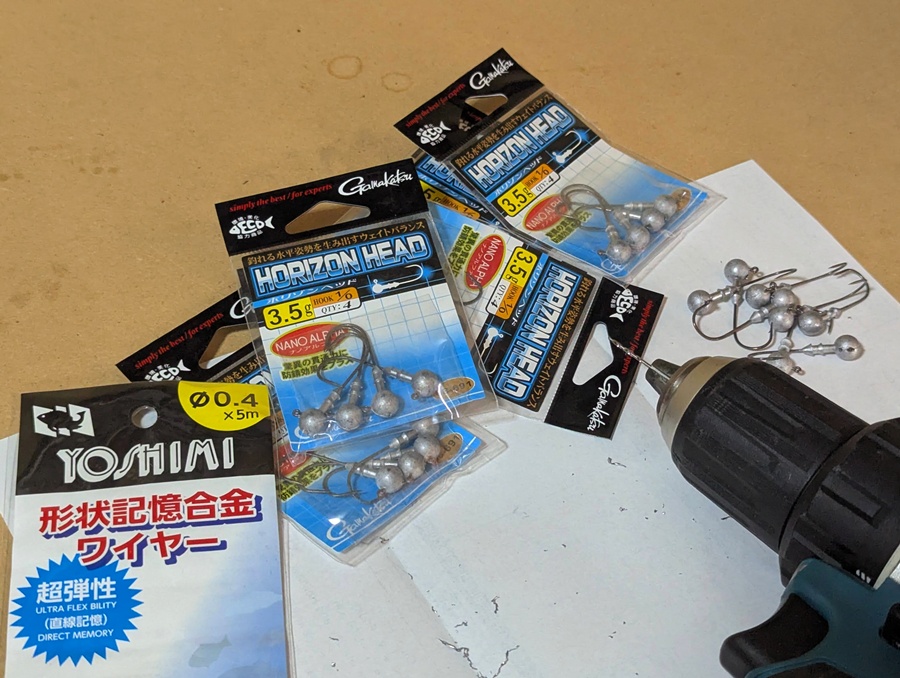
まず用意するものは、鉛のジグヘッドと形状記憶ワイヤー(0.3,0.4,0.45mmを使い分け)。
後は瞬間接着剤とアルテコ、ハンドドリルとラジオペンチを用意しておきます。
Here’s a quick hack for making a wire guard on your jig head that’s both easy to attach and won’t slip out. You’ll need:
*Lead jig heads
*Shape-memory wire (0.3, 0.4, or 0.45mm)
*Instant glue & ALTECO(activator)
*A hand drill & pliers
まずジグヘッドに穴を開ける際は、2mm程度の太めのドリルを使います(電動でも可)。
太い方がドリルが折れにくくて作業しやすいのと、ガードの角度調整の自由度も効きます。
穴はフック本体に当たるくらいまで、深めに開けておくのがおすすめです。
First, drill a hole in the jig head with a 2mm drill bit.
A wider bit is less likely to break and gives you more freedom to adjust the wire guard’s angle.
Make the hole deep enough to touch the hook.
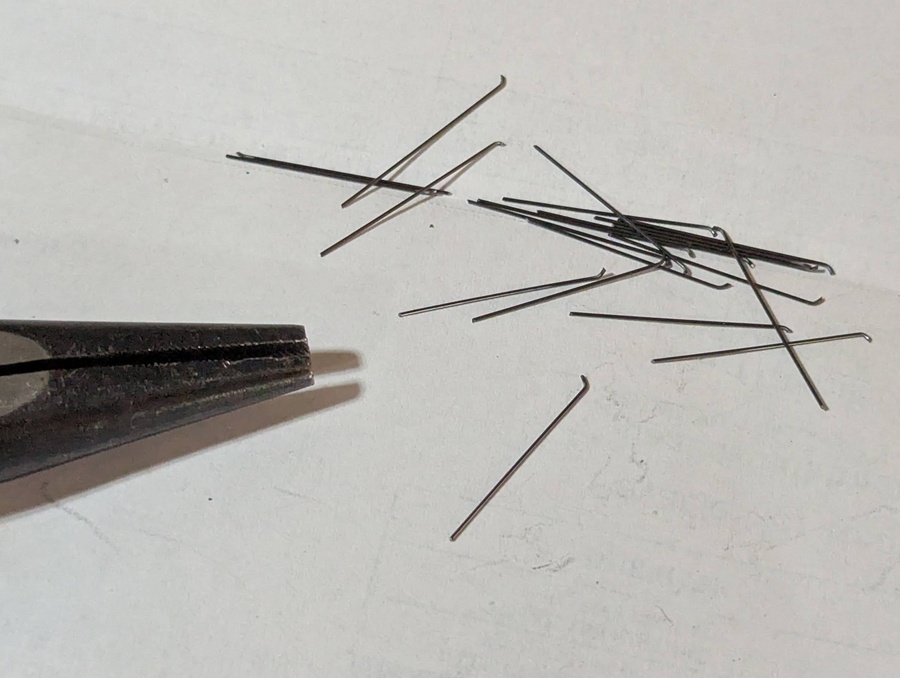
ワイヤーは適切な長さに切ってから、一方の端をペンチで少し曲げておきましょう。
これをやるだけで、格段にガードが抜けにくくなります。
曲げる部分が長過ぎると穴に入りにくくなりますので、そこは注意してください。
Cut the wire to the appropriate length, then use pliers to bend one end slightly.
This simple step makes the guard much more secure and prevents it from pulling out.
Be careful not to bend it too long, or it won’t fit in the hole.
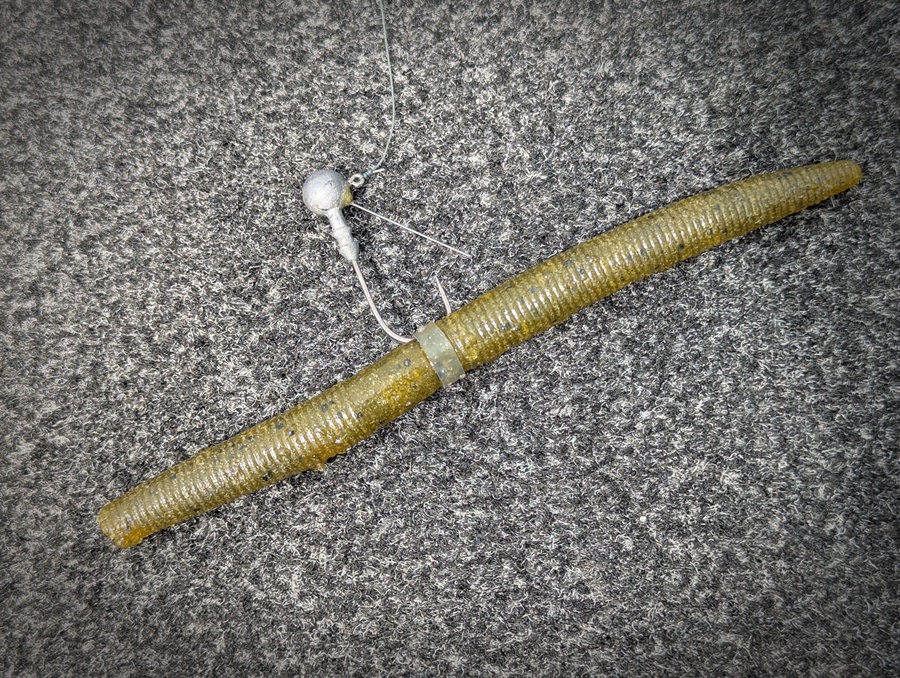
あとは液体タイプの瞬間接着剤をジグヘッドに垂らしてから、ガードを差し込みます。
この時はまだ角度調整が効きますので、ゆっくりと左右上下の位置決めが出来ます。
真っ直ぐにセットできたら、アルテコをひと噴きすれば一瞬で固まるという訳です。
Then, apply liquid instant glue to the jig head and insert the wire.
You’ll still have time to adjust its position.
Once it’s straight, a quick spray of accelerator will instantly harden the glue.


※ぜひFacebookページへのいいね!& twitter・Instagramのフォローをよろしくお願いします。
関連記事
-

[D] 最強のシンカーストッパーは、最高のシンカーストッパーなのか?
2016.04.29
-

:[D] ところで、正しい”トゥルーチューン”出来てますか!?
2018.04.23
-

[D] ヒイラギパターン=バイブレーション最強伝説は本当か?
2016.11.05
-

:[R] 「タイミング」の妙を考える
2021.08.29
コメント
この記事へのトラックバックはありません。

この記事へのコメントはありません。